

Eduroam Manual Setup for PCs
If you have trouble connecting to eduroam from the wireless networks list, follow the following steps to manually create your eduroam profile.
1. Getting Started
The first thing to do is to remove the current eduroam profile if it exists.
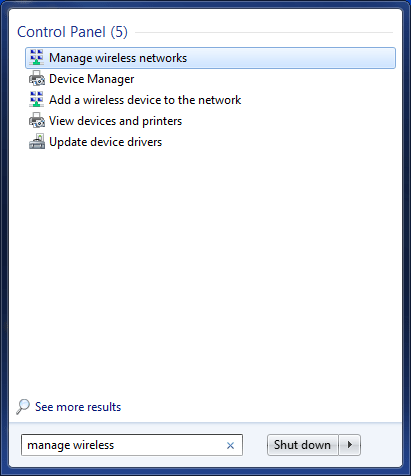
On Windows 7, click on the Start button and search for “Manage Wireless Networks.” Press enter to follow the highlighted link.
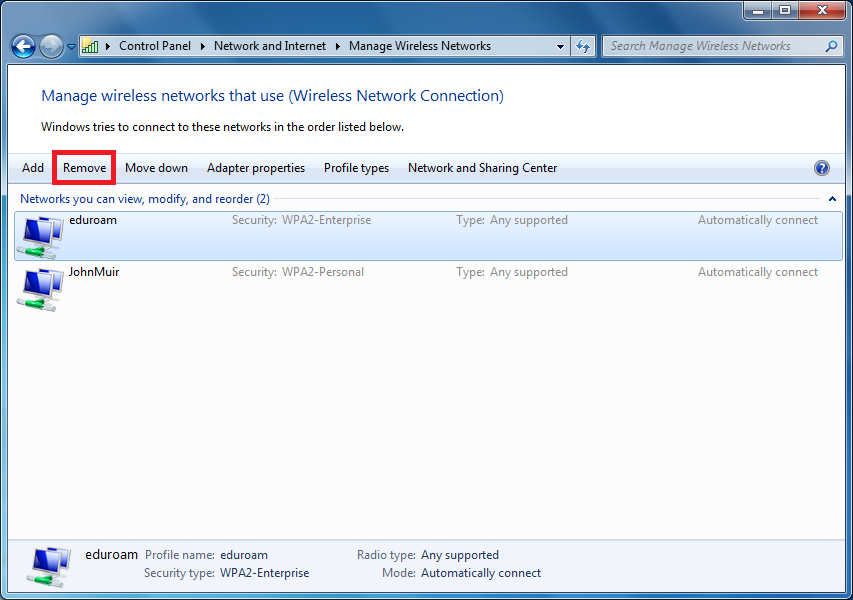
If eduroam is listed, click on it then click on “Remove.”
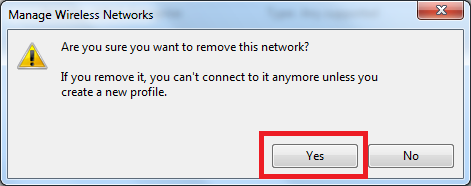
Then click on “Yes” on the next window.
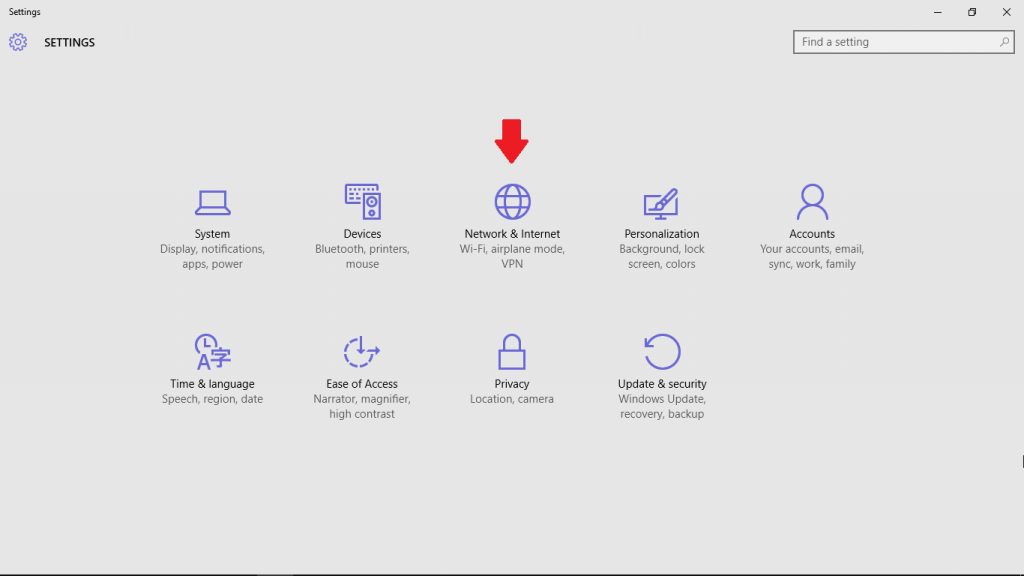
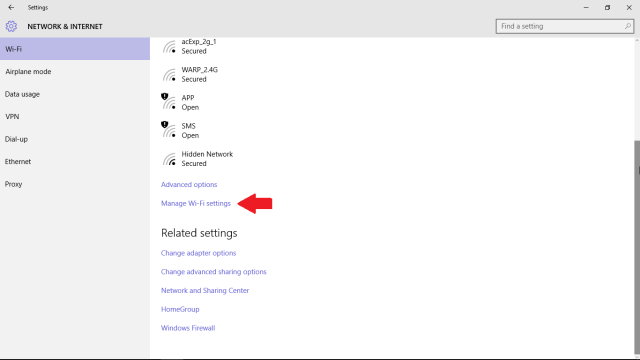
On Windows 10, go to Settings (Windows + I keyboard shortcut) and click on “Network and Internet.”
Then scroll down and click on “Manage Wi-Fi settings.”
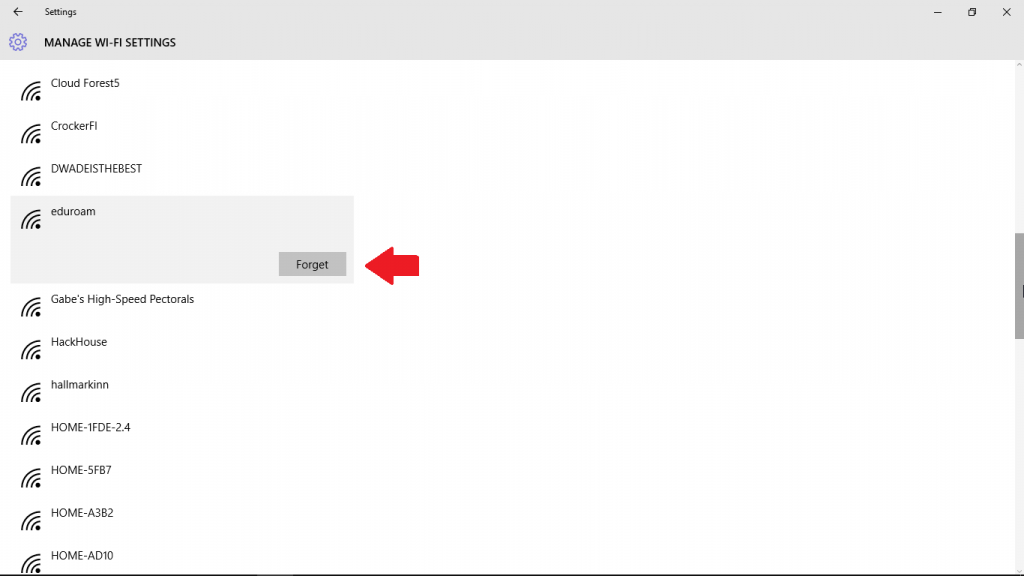
Then scroll down until you find eduroam, click on it, and then click on “Forget.”
Now you can move forward.
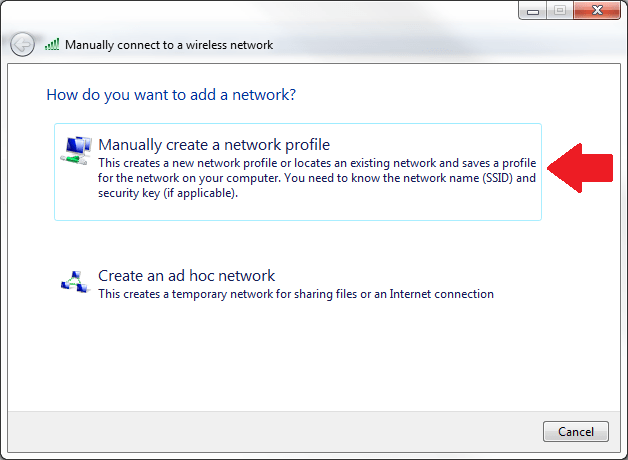
On Windows 7, go to Manage Wireless Networks. Click on Add to create a new network profile and then click on “Manually create a network profile.”

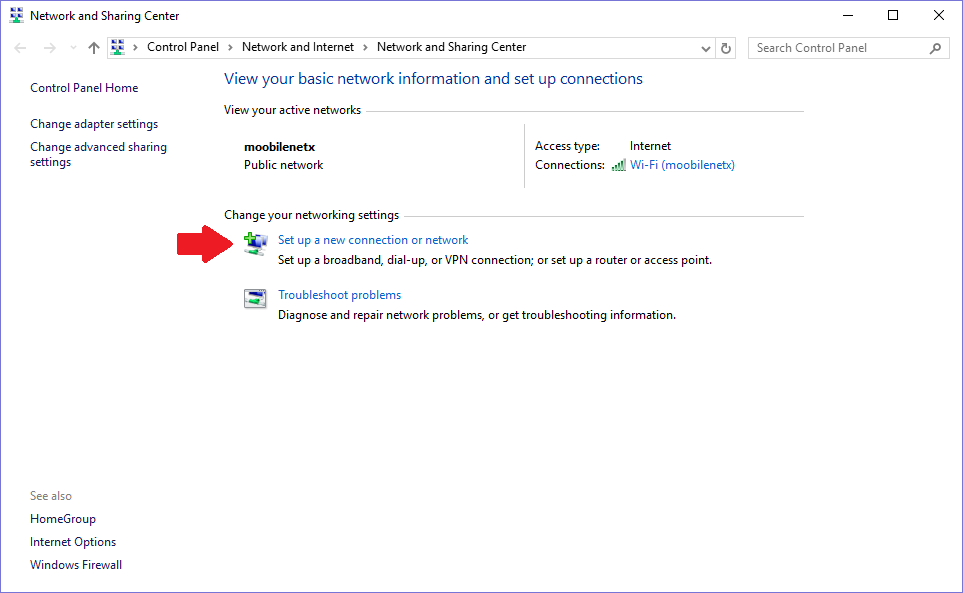
On Windows 10, search for “Network and Sharing Center.” Click on “Set up a new connection or network” link and then select “Manually connect to a wireless network.”

2. Setting up a Network Profile
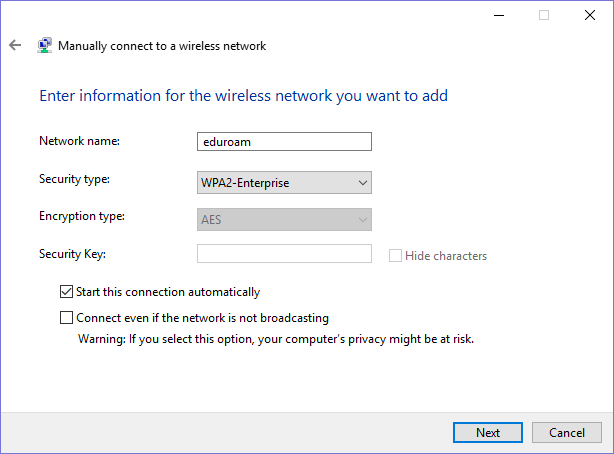
For Network Name, enter “eduroam.”
For Security Type, select WPA2-Enterprise. This will automatically select AES for Encryption Type and check the “Start this connection automatically” checkbox.
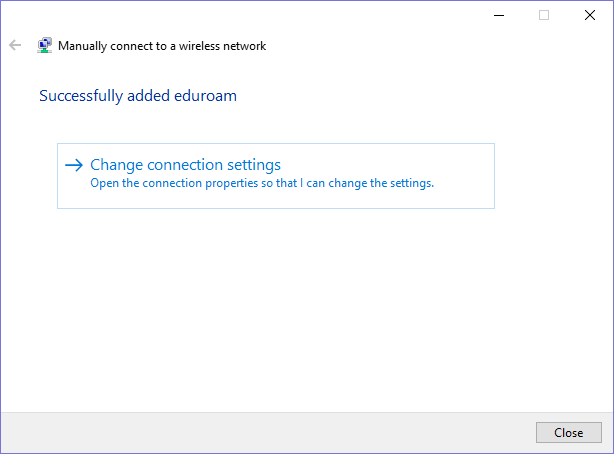
Click Next. Then click on “Change connection settings.”
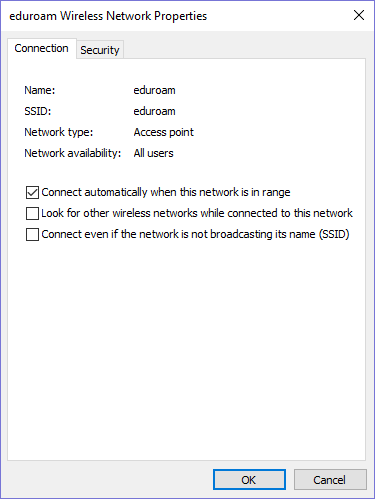
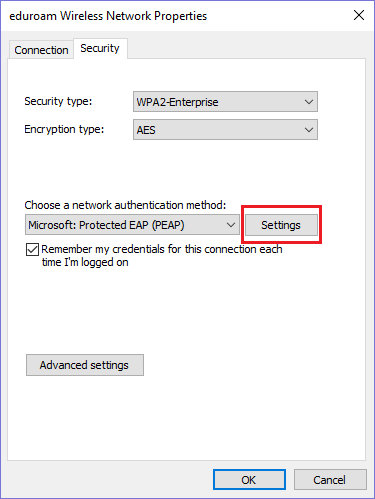
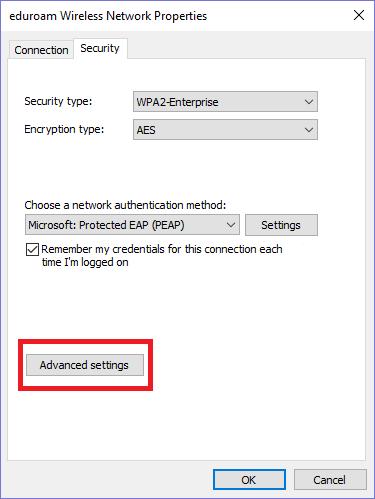
On the next window, leave everything on the Connection tab alone and click on the Security tab.
Then click on Settings.
On the next window, check the “Connect to these servers” checkbox and enter “eap.noc.ucdavis.edu” underneath it.
In the Trusted Root Certification Authorities list, check AddTrust External CA Root checkbox.
Then click on Configure. On the next window, check the checkbox and click OK. Click OK again on the Protected EAP Properties window.


Once you’re back to the Security tab of the eduroam Wireless Network Properties window, click on Advanced Settings.
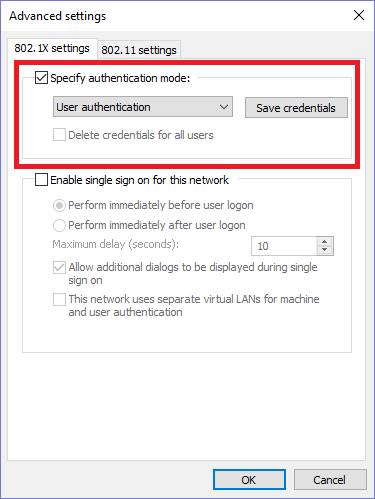
On the next window, check the “Specify authentication mode” checkbox and in the drop down menu select User Authentication. Then click on Save Credentials.
Your username will be kerberos_username@ucdavis.edu (you MUST add @ucdavis.edu after your Kerberos username).
Your password will be your Kerberos password.
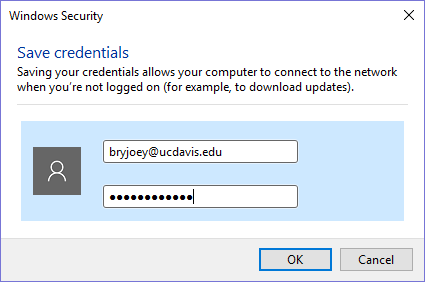
Click OK. Then click OK again on the eduroam Wireless Network Properties windows. Then click Close on the last window left.